As an Amazon Associate I earn from qualifying purchases through links from this site. See the disclosure page for details.
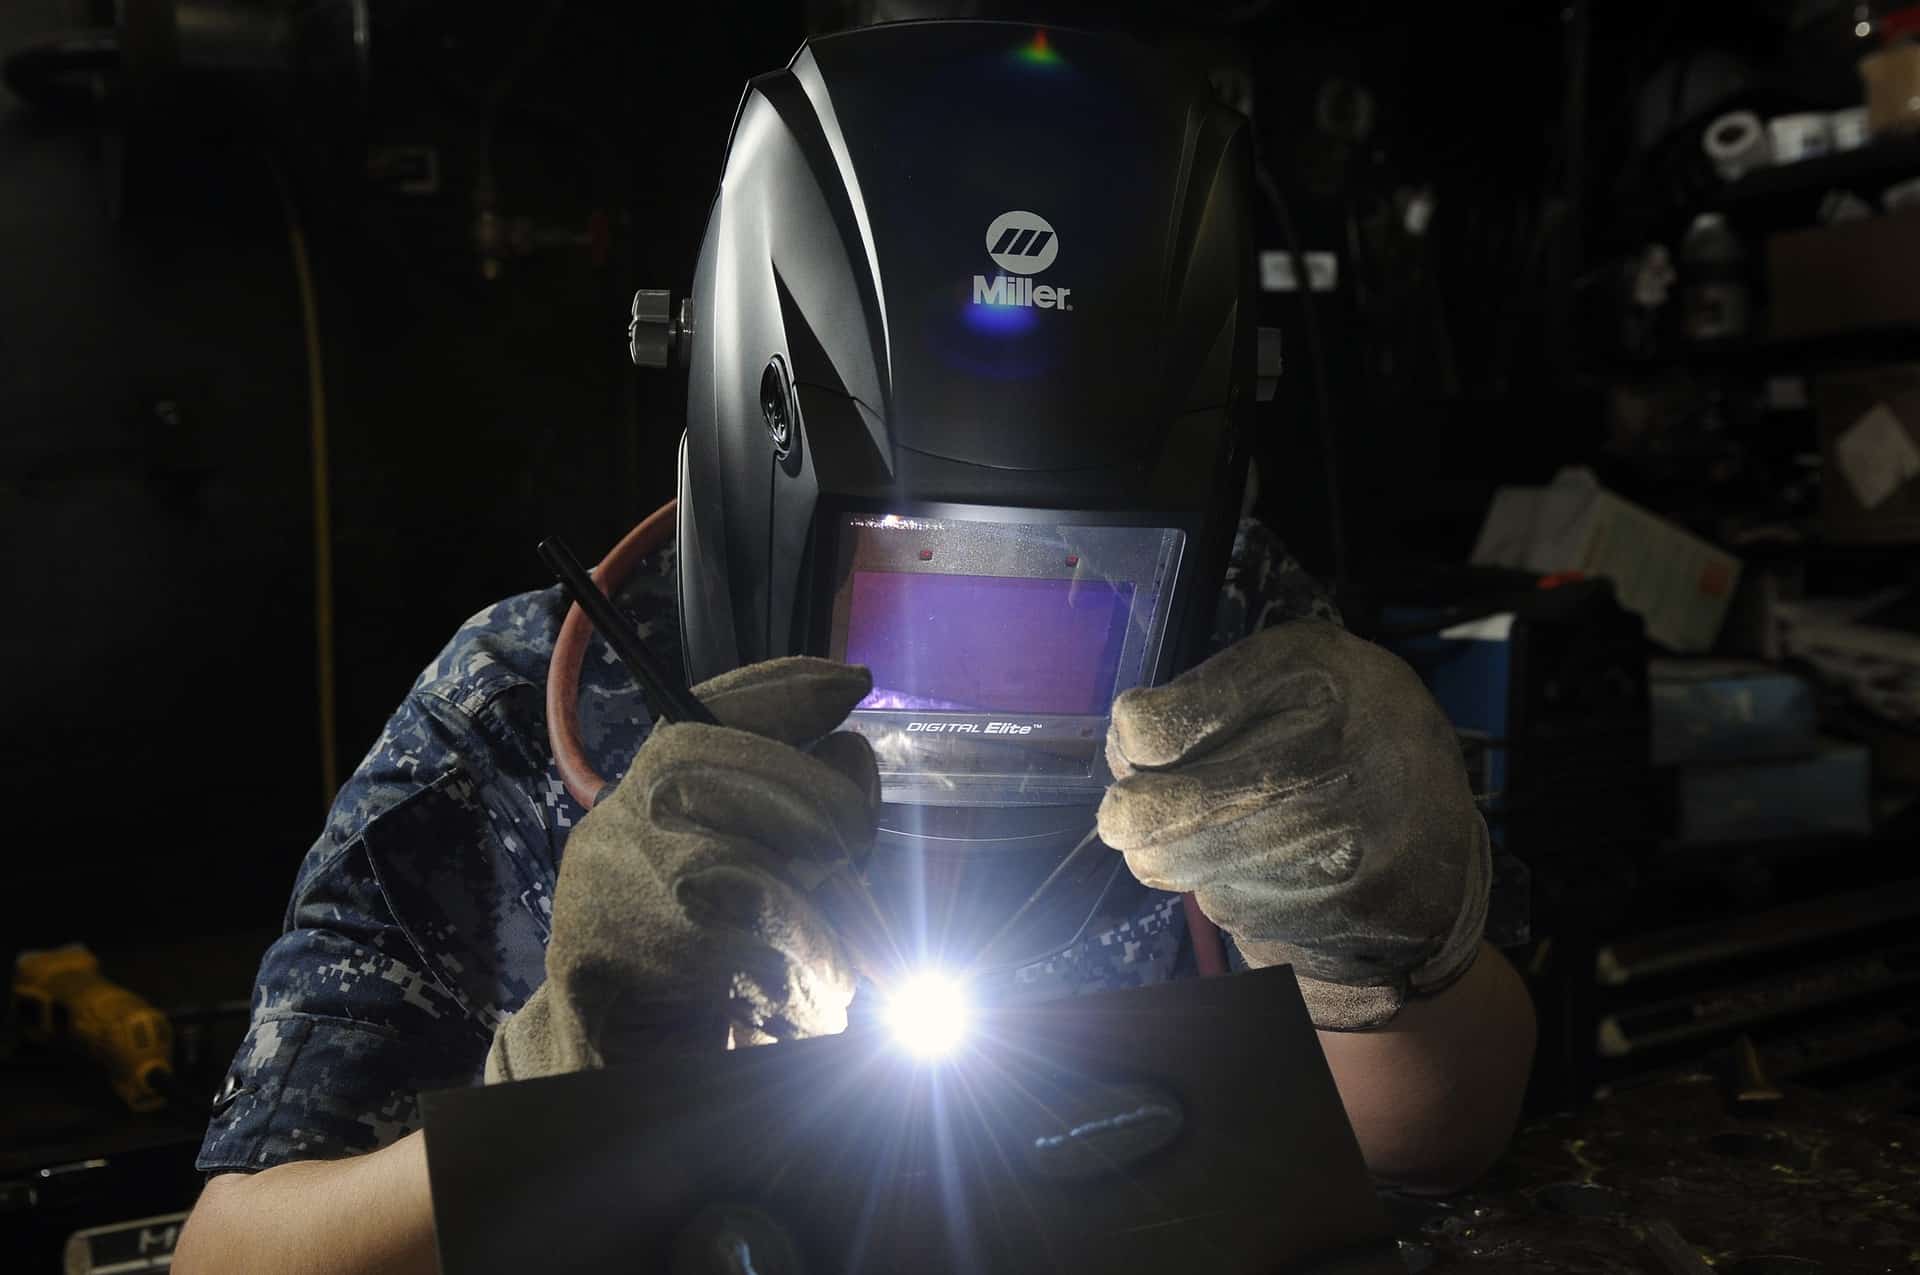
When I recently bought a new auto-darkening welding helmet, I wanted to make sure it works before I start to weld. Because I had no clue how to test the functionality, I made a comprehensive research on the internet.
Here you will find the complete summary of what I found out on how to test an auto-darkening welding helmet:
Top methods to test if your auto-darkening welding helmet works:
Table of Contents
Strike an arc
Warning, this method involves the risk of getting a welder’s flash.
If you are quite sure your helmet does work, you can strike an arc and start to weld. Your welding hood should instantly get dark, and it should be comfortable for you to look at the welding pool directly.
If everything is correct, the light from the arc should be not too bright so that you can see where you are welding.
When you stop welding, you should notice the change in shade levels of your helmet.
back to menu ↑Use an IR remote control
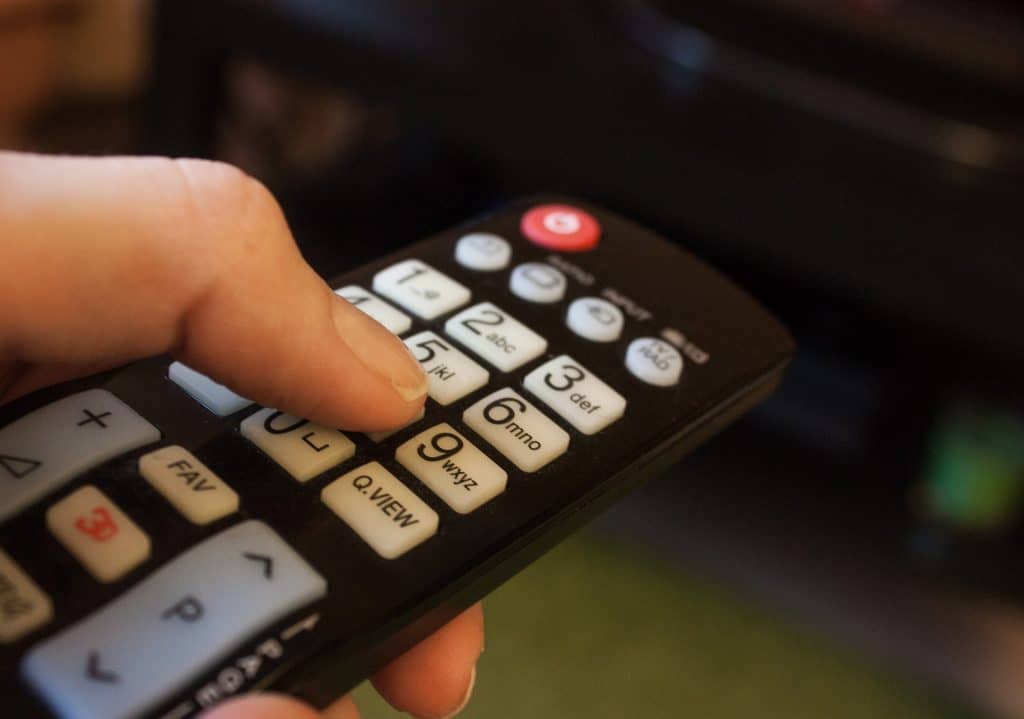
IR Remote Control
Because welding helmets do not only block UV but also IR light, you can test your auto-darkening welding helmet with a standard TV or HIFI remote control (or similar). You need a remote that works with IR signals.
Put on your welding hood look through it. Look at the light diode of the remote control (point the remote to your head) and press any button.
As long as you press buttons, your welding helmet should be in its dark state. If nothing happens, it also could be that the sensitivity of your helmet is too low. Try to increase it as high as possible.
Moreover, if you have a remote control that sends out pulsed signals, it could be that your helmet will flicker. To avoid flickering because of the pulsed signal, increase your welding helmet’s delay time.
If this method does not work for you, make sure your remote control is working and check the manual if it is an IR remote control.
back to menu ↑Switch off grind mode
Some masks have a so-called grind mode, that disables the auto-darkening sensors while enabled. This is useful for works where you don’t need the high shade level of 9-15. Make sure grind mode is off when testing your welding goggles.
back to menu ↑Use a torch striker
A simple way to test an auto-darkening welding helmet is to use a torch strike that is used to light an oxy-acetylene torch.
Use the striker and create some sparks. The sensor of your welding helmet should instantly notice the sparks and your helmet should switch to dark mode.
back to menu ↑Use a cigarette lighter
The cigarette lighter method is a good method for every smoker: Use your cigarette lighter to check if you cool welding mask works.
back to menu ↑Look at the sun or bright overhead lights
Another idea how to check if the helmet switches to dark mode: Put your helmet on and directly look at the sun or at any bright overhead lights.
back to menu ↑Test the helmet’s batteries
If you own an auto-darkening welding helmet that has batteries inside, remove those. Check their metal contacts and put them in a battery tester to make sure they do work.
back to menu ↑Why to regularly test your auto-darkening welding helmet?
Before you start with your welding job, you always should check if your welding helmet does still work properly. Why? Well, there are several reasons why it could have stopped working.
Empty Battery
Without any power, your auto-darkening welding helmet will not work.
So, maybe you have a solar powered welding helmet that charges the helmets batteries. When you have not used your helmet for a while, it could be necessary to put the helmet outside for 15 minutes until the batteries are recharged. Sometimes, welding helmets are recharged by cable. Plug it on and charge it.
Batteries have limited life. It is not uncommon that you have to replace the batteries once a while completely.
Damaged Sensor
If the helmets light sensor is damaged or dirty, it will not notice the arc and your helmet will not switch to the dark mode.
Damaged Shade
It could be that your ADF shade is not working anymore. In this case, you will need a replacement.
back to menu ↑How to test an auto-darkening welding helmet – conclusion
No matter what type or brand of helmet you use, it is essential for you to know how to test an auto-darkening welding helmet before working with it.
I’d recommend you to use the striker method since this is a method welding helmet suppliers use on trade shows very often.
Image Credits: Pixabay, Remote Control / Pixabay